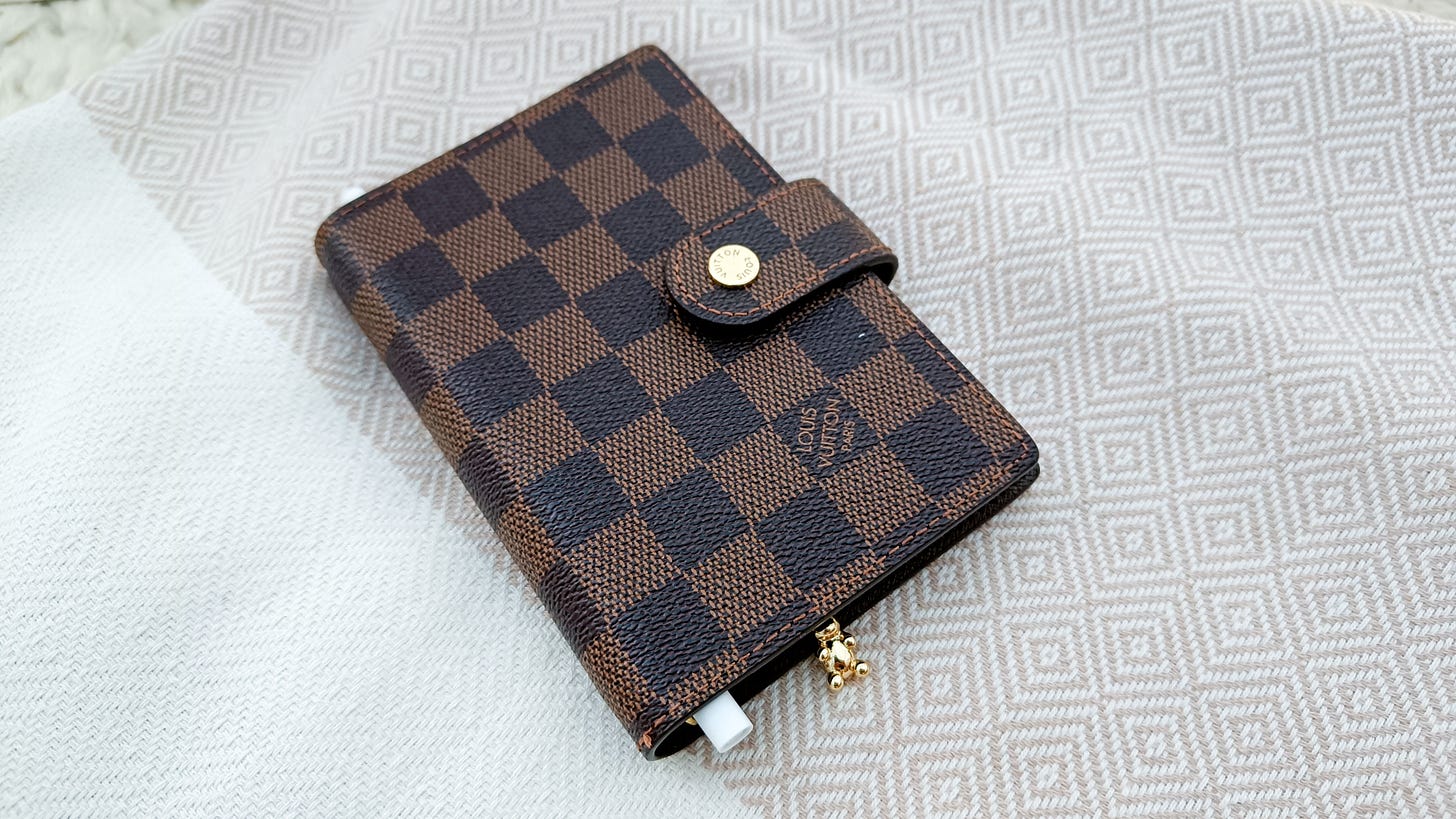
I think I've found the perfect solution to stay on top of things when I'm out and about and don’t have my chunky, A5 desk planner with me - which is to set up a LV small agenda as my on-the-go pocket-sized planner.
So if you’re looking for ideas and inspiration for your pocket size planner, grab your cuppa and get cosy.
The Desk-Bound Planner Problem
a around the downside of an A5 planner - in that it’s not the most portable planner size out there. Especially, if like me, you’ve set it up for being desk-bound first and foremost.
With a new, part-time job starting, my dilemma when from a level two problem of:
“oh well, I can get by, sorta, I work from home”
— to a level nine, almost meltdown, problem:
“OMG, I wont be at home, this is mission critical now!”
This triggered me to find a work around, that actually works for me, when it comes to having important info on the go.
The Requirements For My On-The-Go Planner
For this experiment, I decided to road-test a pocket size planner as it would fit in my small handbag.
I already had a preloved small agenda by Louis Vuitton in my collection that I hadn’t yet found a use for, so it made sense to utilise it as an on-the-go planner for keeping track of important dates, as well as logging meetings, taking notes, and keeping shopping lists.
Mission: NO BUY!
Now, because this was an experiment, I didn’t want to spend a ton of money buying new goodies to kit this planner out with. Mainly because I knew this would cause me to procrastinate and fall into perfectionism when it came to setting it up.
I just needed the essentials in order to run the test, so that’s what I focused on.
Mantra: Make Do and Mend.
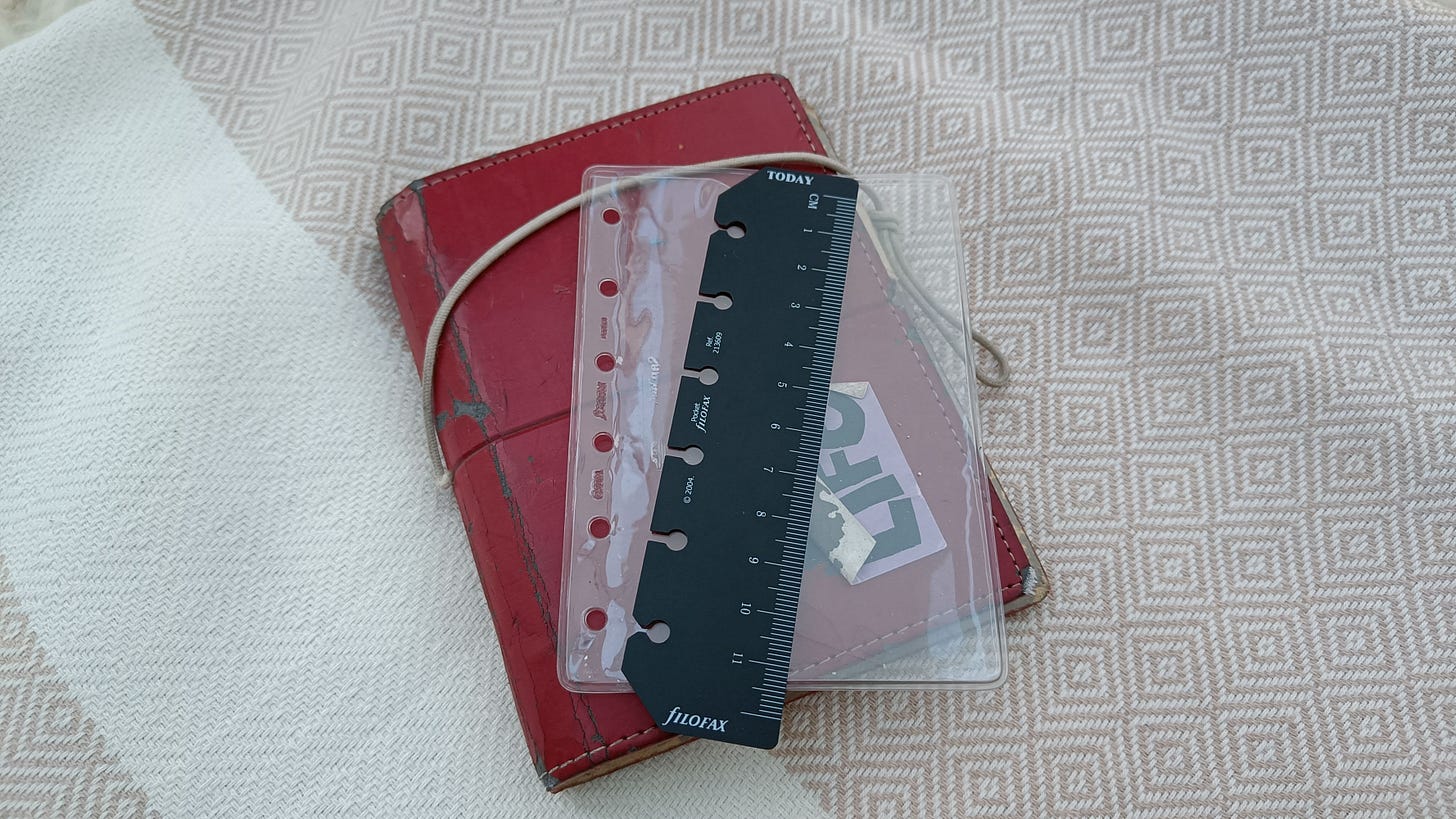
I decided to salvage some things from a very old Filofax Domino pocket planner I had from circa 2006. This included: six, cream numbered dividers; a top opening envelop pocket; a black ruler / page marker; a map for deco; and any unused note paper.
Designing My Perfect Inserts
After looking on Filofax for the perfect monthly insert for logging important dates, but not finding anything I was 100% excited about, I decided to design my own.
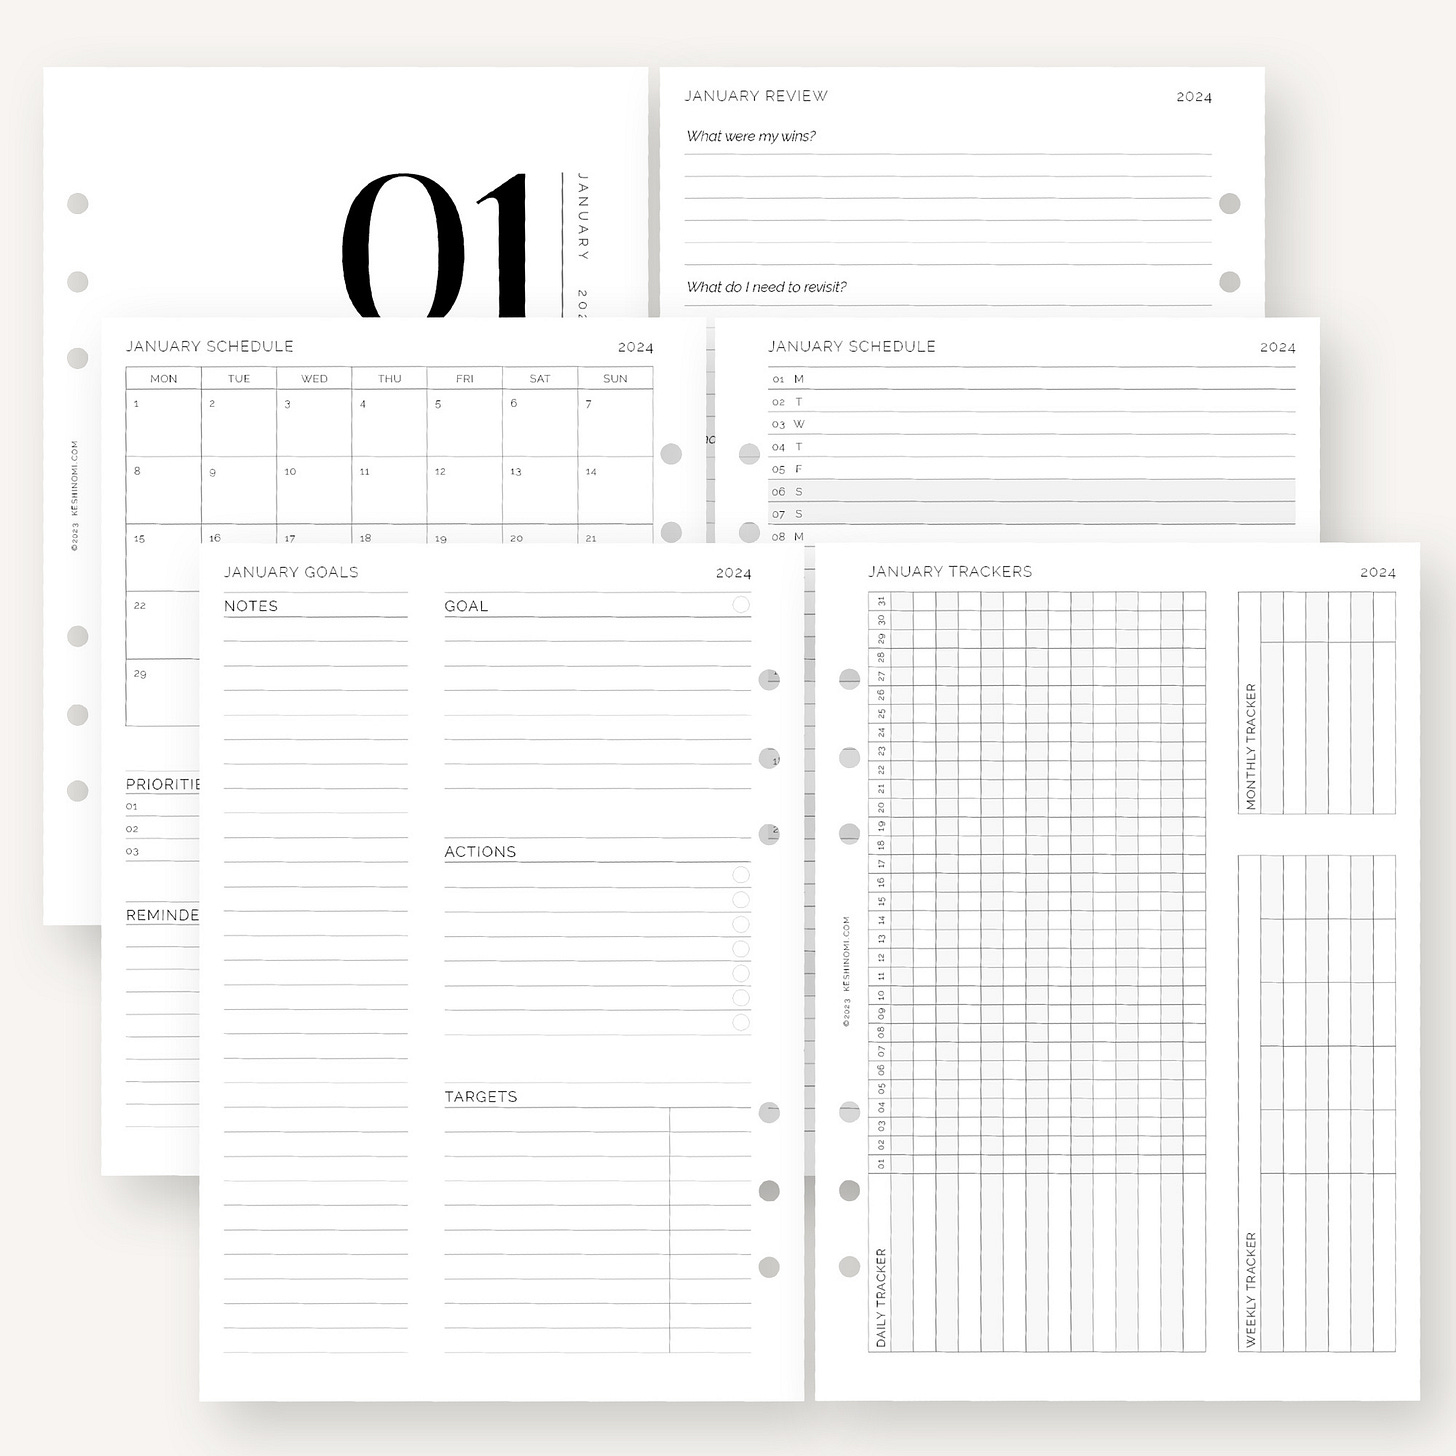
First, I made a pocket sized version of my current month on two pages that I use in my A5 planner.
However, after I printed it out and thought seriously about how I would use it, I realised it would be overkill. This was due to the calendar grid on the left-hand-page, along with top priorities, notes and checklists. These things are already covered in my main planner so I didn’t need to double up on them or have them on-the-go.
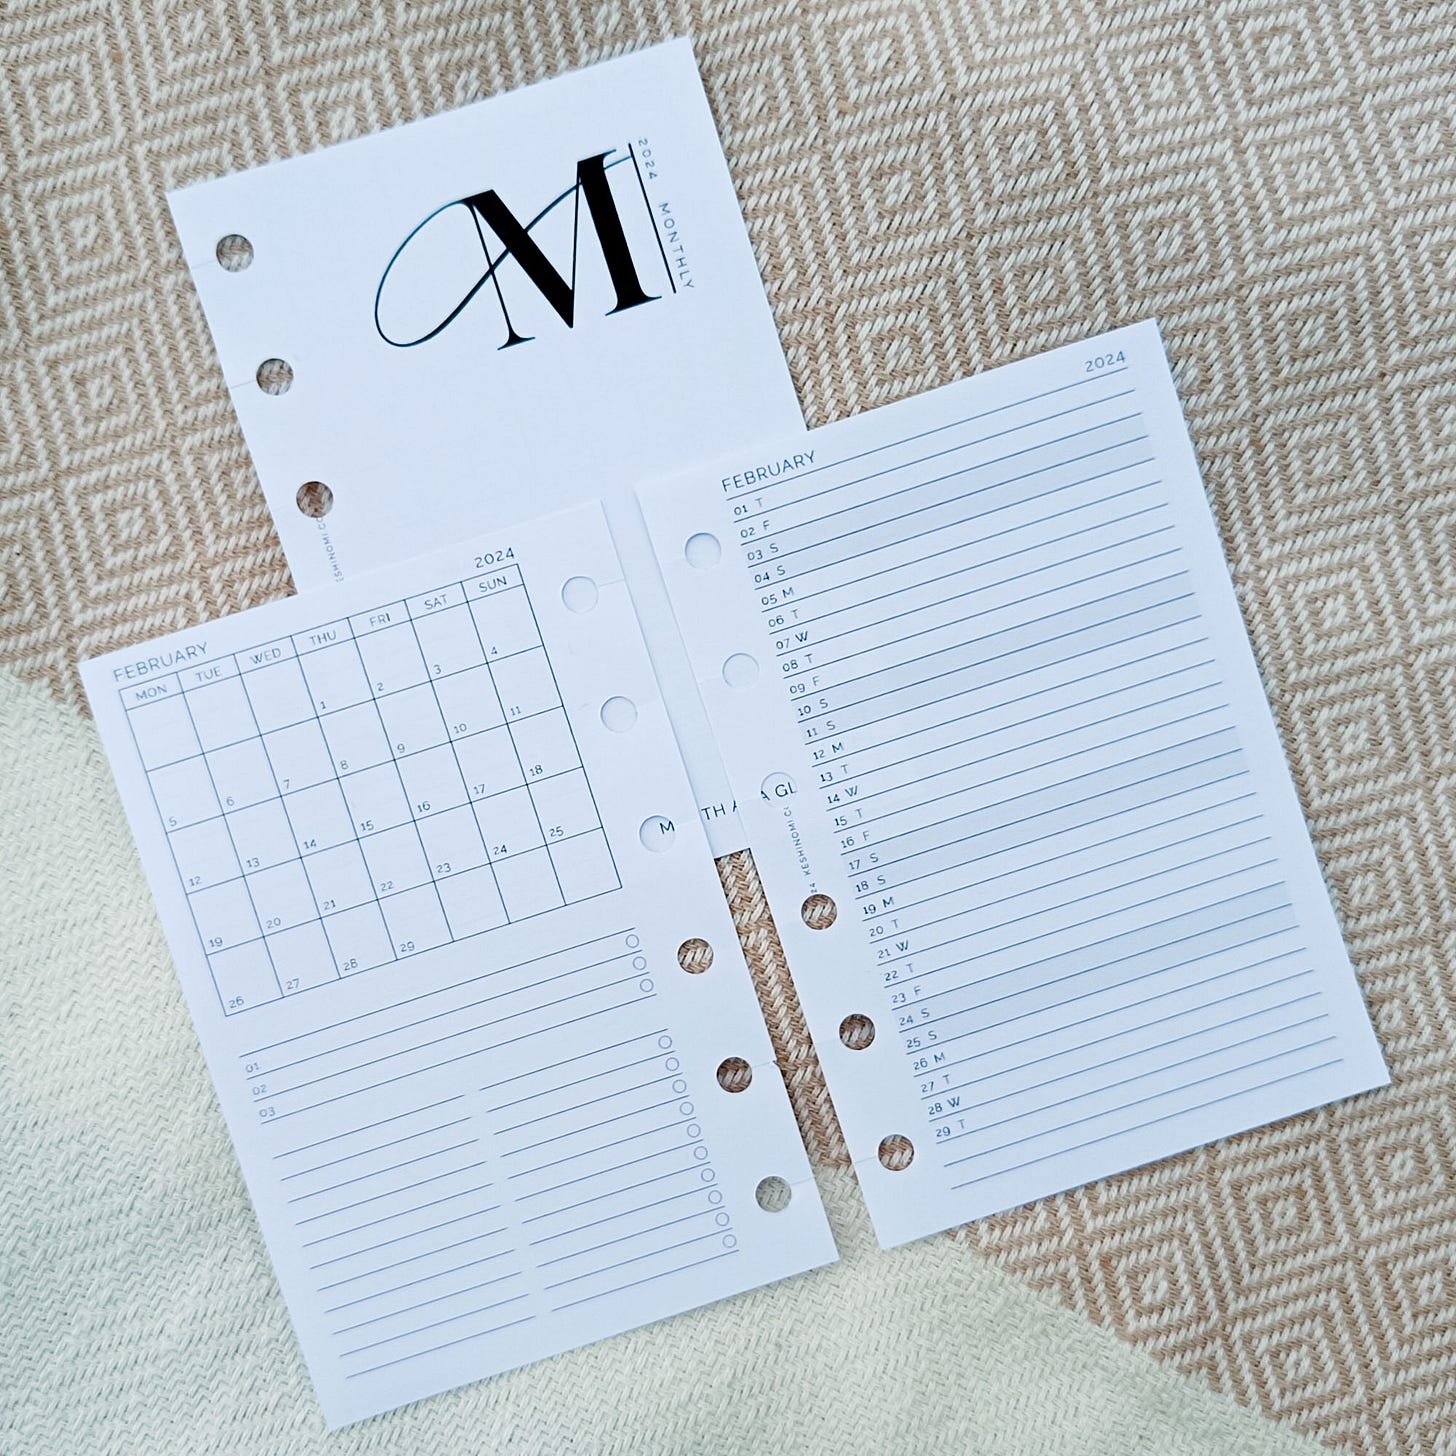
All I really needed was a place to clearly log important dates and meetings, so it was back to the drawing board with another month on two pages design inspired by just the right-hand-page of my original insert.
The Monthly Insert - Final Design
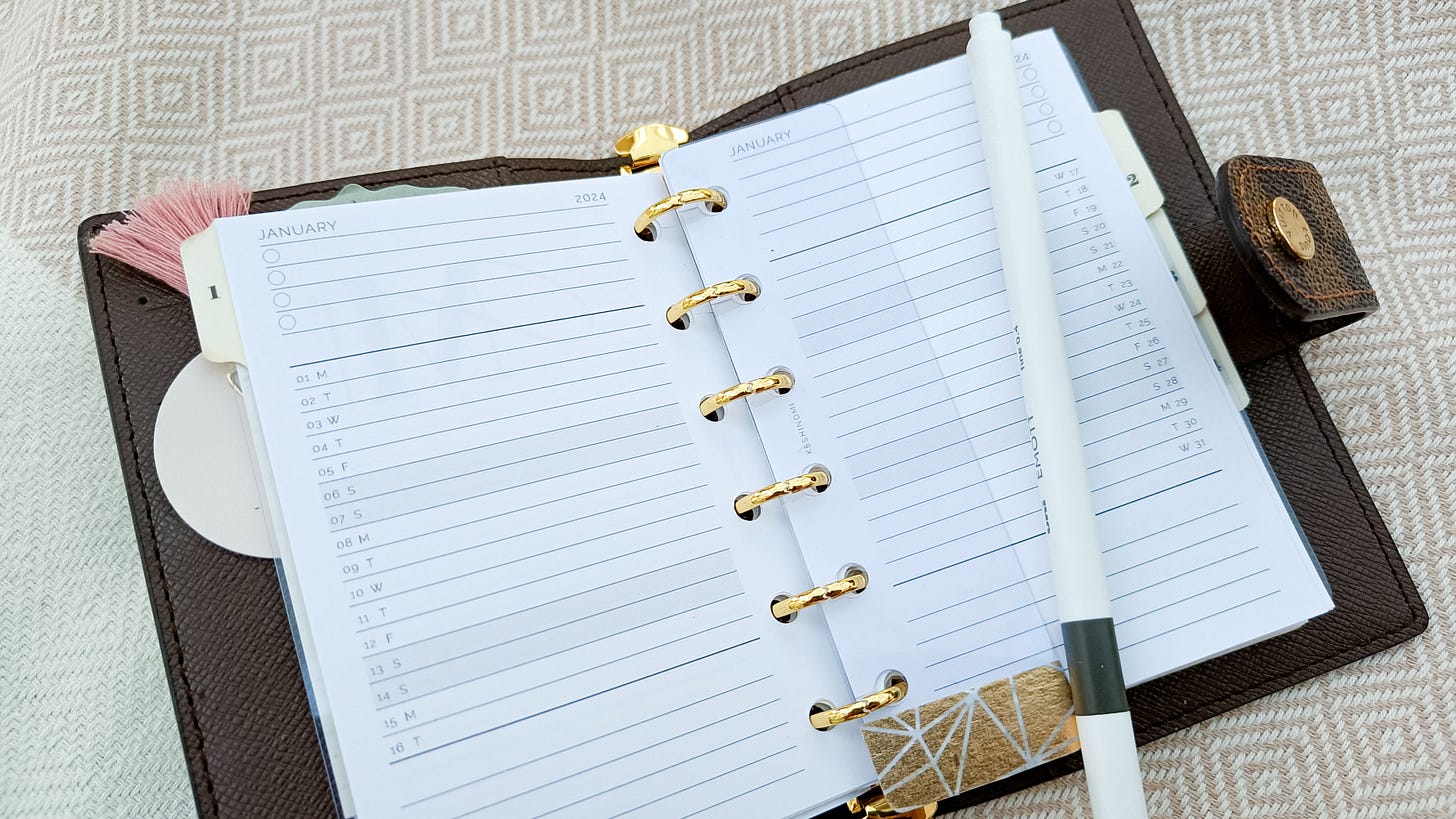
I’ve tested this insert for nearly a month now and I am in love - except for the fact that I’m now “double-entry scheduling”, in that I’m having to maintain two sets of monthly inserts.
This gave me pangs of anxiety about missing something when updating my A5 planner with items added in my on-the-go planner, that were way into the future.
My initial solution to this problem was to simply jot down a reminder on a sticky note at the front of my planner, but this proved to be a little too messy for the perfectionist in me, who wants everything to be organised.
Creation of The Important Dates Log Insert
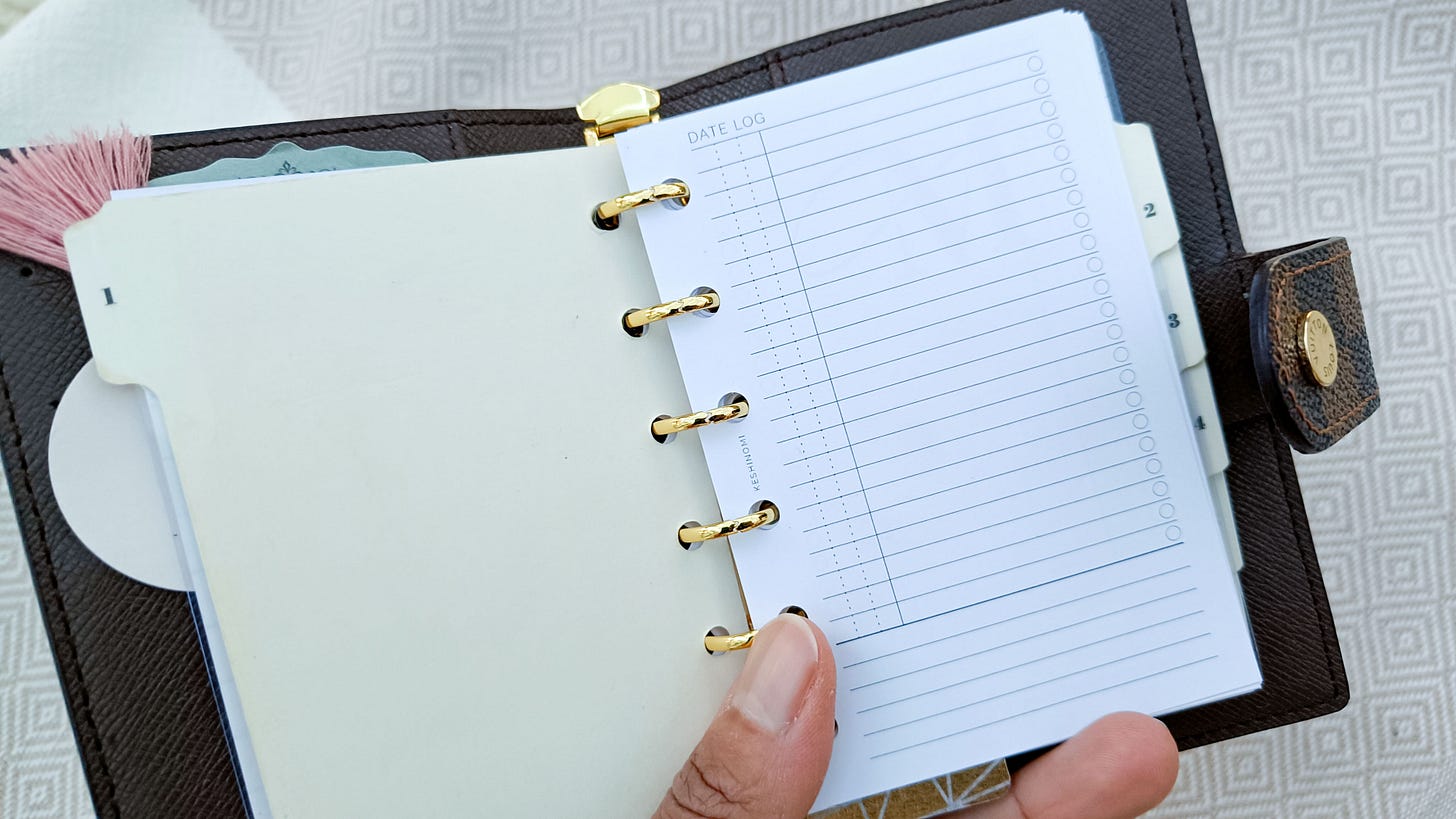
So again, I designed another insert, but this was specifically for logging date reminders. I wanted it to be easy on the eyes, as well as making it super simple to keep track of things. Here’s the final design…
This layout helps keep things looking neat, with a date column on the left, space for a short description in the middle, followed by a check circle on the right for ticking it off once the item had been added to my A5 planner.
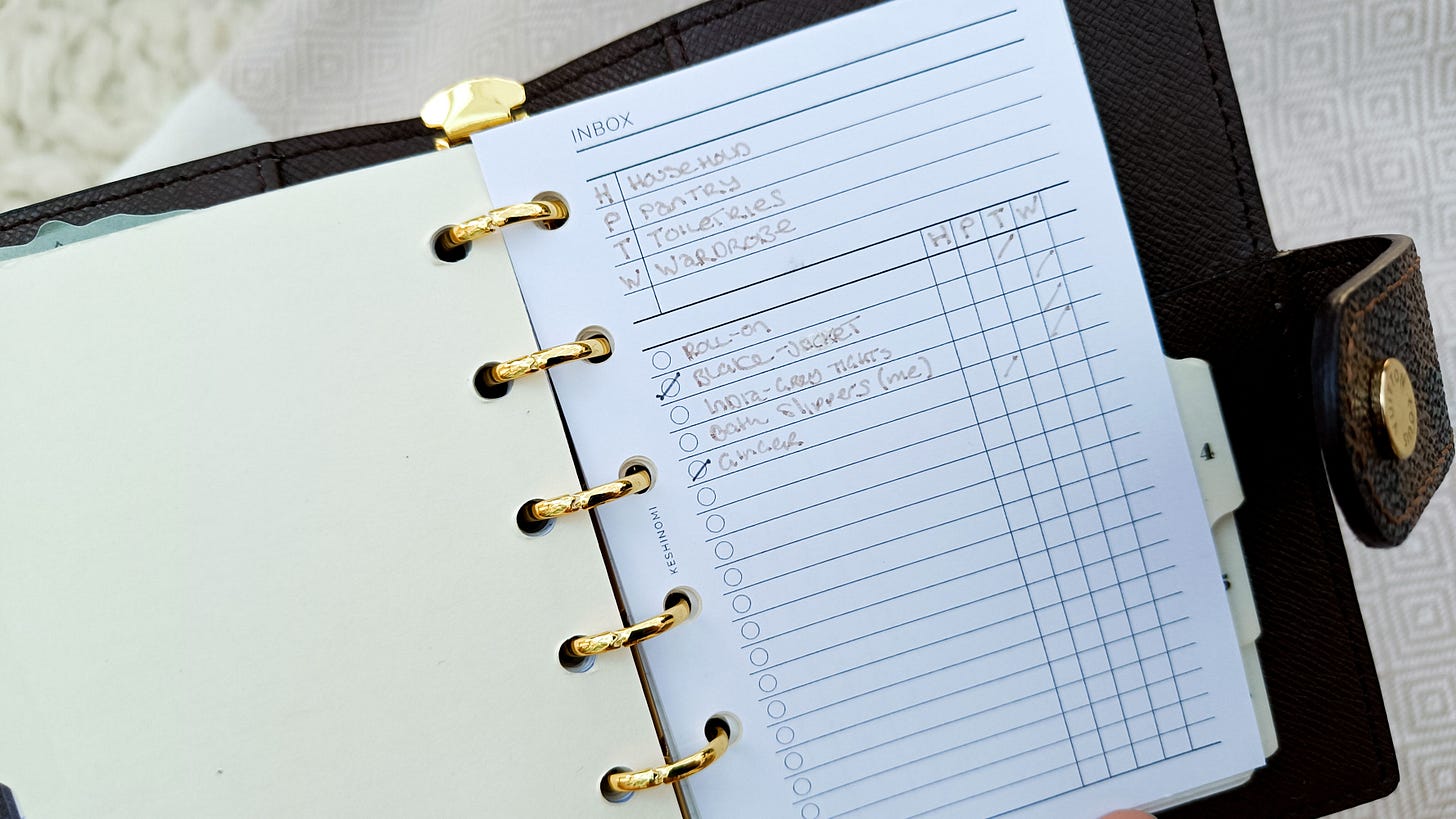
The “To Buy” Inbox Insert
I also needed an insert that would help me to keep track of things to buy when I’m out and about. Now these items are separate from my grocery shopping list because they’re things I can’t get at my local supermarket.
I tried sticky notes, which obviously did the job, but again felt comfortably messy for me. Plus, my brain had cooked up an inbox style insert idea that I absolutely had to bring into reality.
What I love about this insert is that you can use it for pretty much any type of inbox requirement. You have 5 columns for tagging and tracking, plus a key at the top for defining what the columns represent.
Mine are:
H = Household (items I need to buy for the home, such as a new microwave, washing line, bedding, etc.)
P = Pantry (Items for the pantry that I can only buy from specialist shops such as the health food shop.)
T = Toiletries (Specialist toiletries and cosmetics items not available at my regular supermarket/grocers.)
W = Wardrobe (Clothing/shoes purchases such as new socks for the kids, school shirts, etc.)
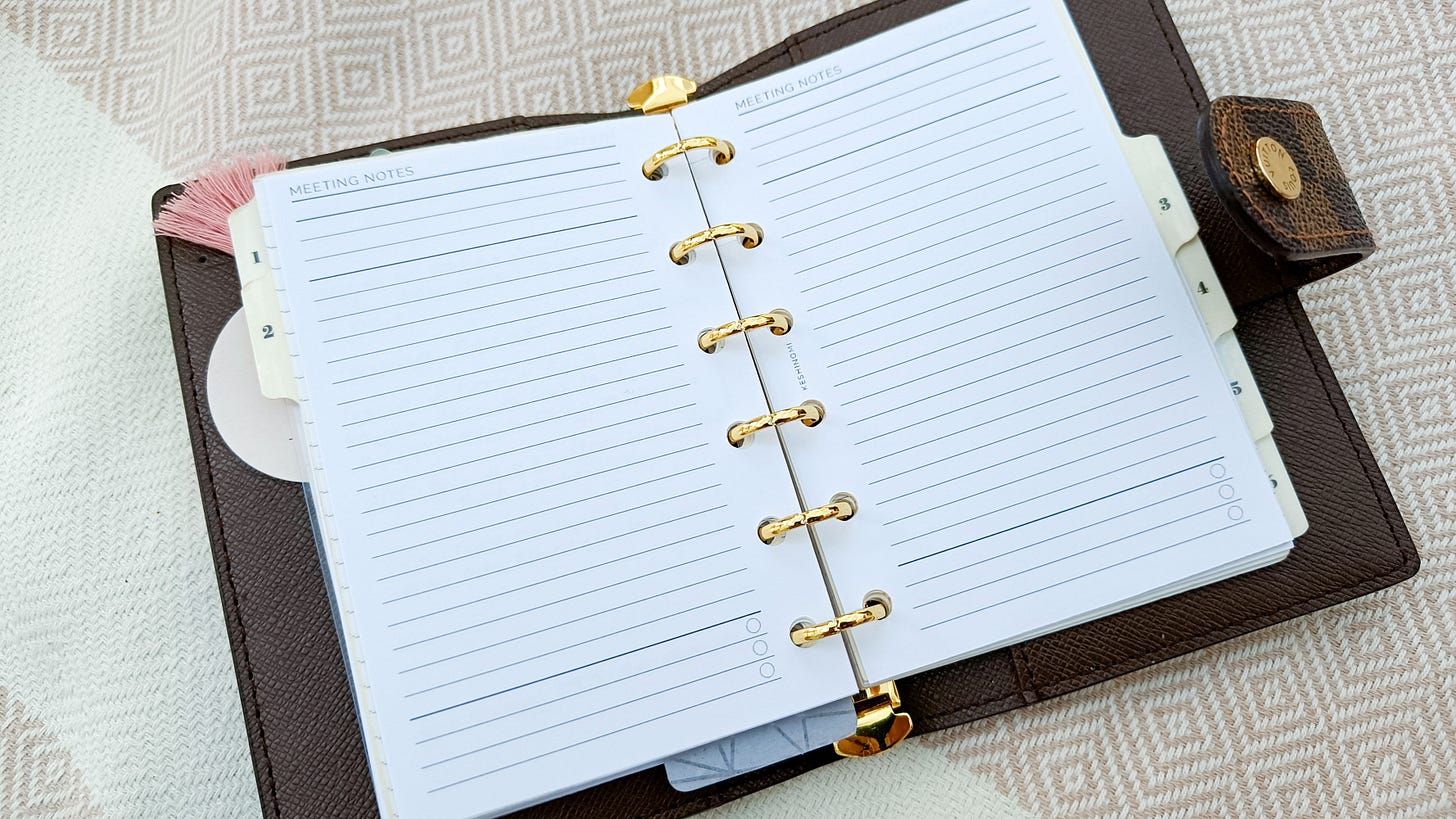
The Meeting Notes Insert
The final insert I craved for this planner was something that would help my meeting notes look a little more orderly. The notes I’d taken during the past few weeks of meetings were scrapy to say the least.
Now, I know there are a few methods out there for structuring note taking during meetings, but I really didn’t want anything that would require me to learn a system. I just wanted an insert to help me neatly format my notes on the fly.
So I settled on a design with: an area at the top for titling and dating the meeting, as well as space for noting who was in attendance or any other special details; a lined section for the actual meeting notes; and a checklist at the bottom for three next actions.
Next Step - Project “Make it Pretty”
Now that I have all the essential inserts for functional planning sorted, I’m finally allowing myself to move on to the next fun part of setting a planner up: ACCESSORISING!!!
By initially treating this as an experiment, where I started with a basic setup of required items and iterated through improvements, it's helped me resist the "gotta buy everything just in case" FOMO mentality.
And as a result, it means I’m now looking for very specific accessories, not just to enhance the beauty of my planner but also its functionality.
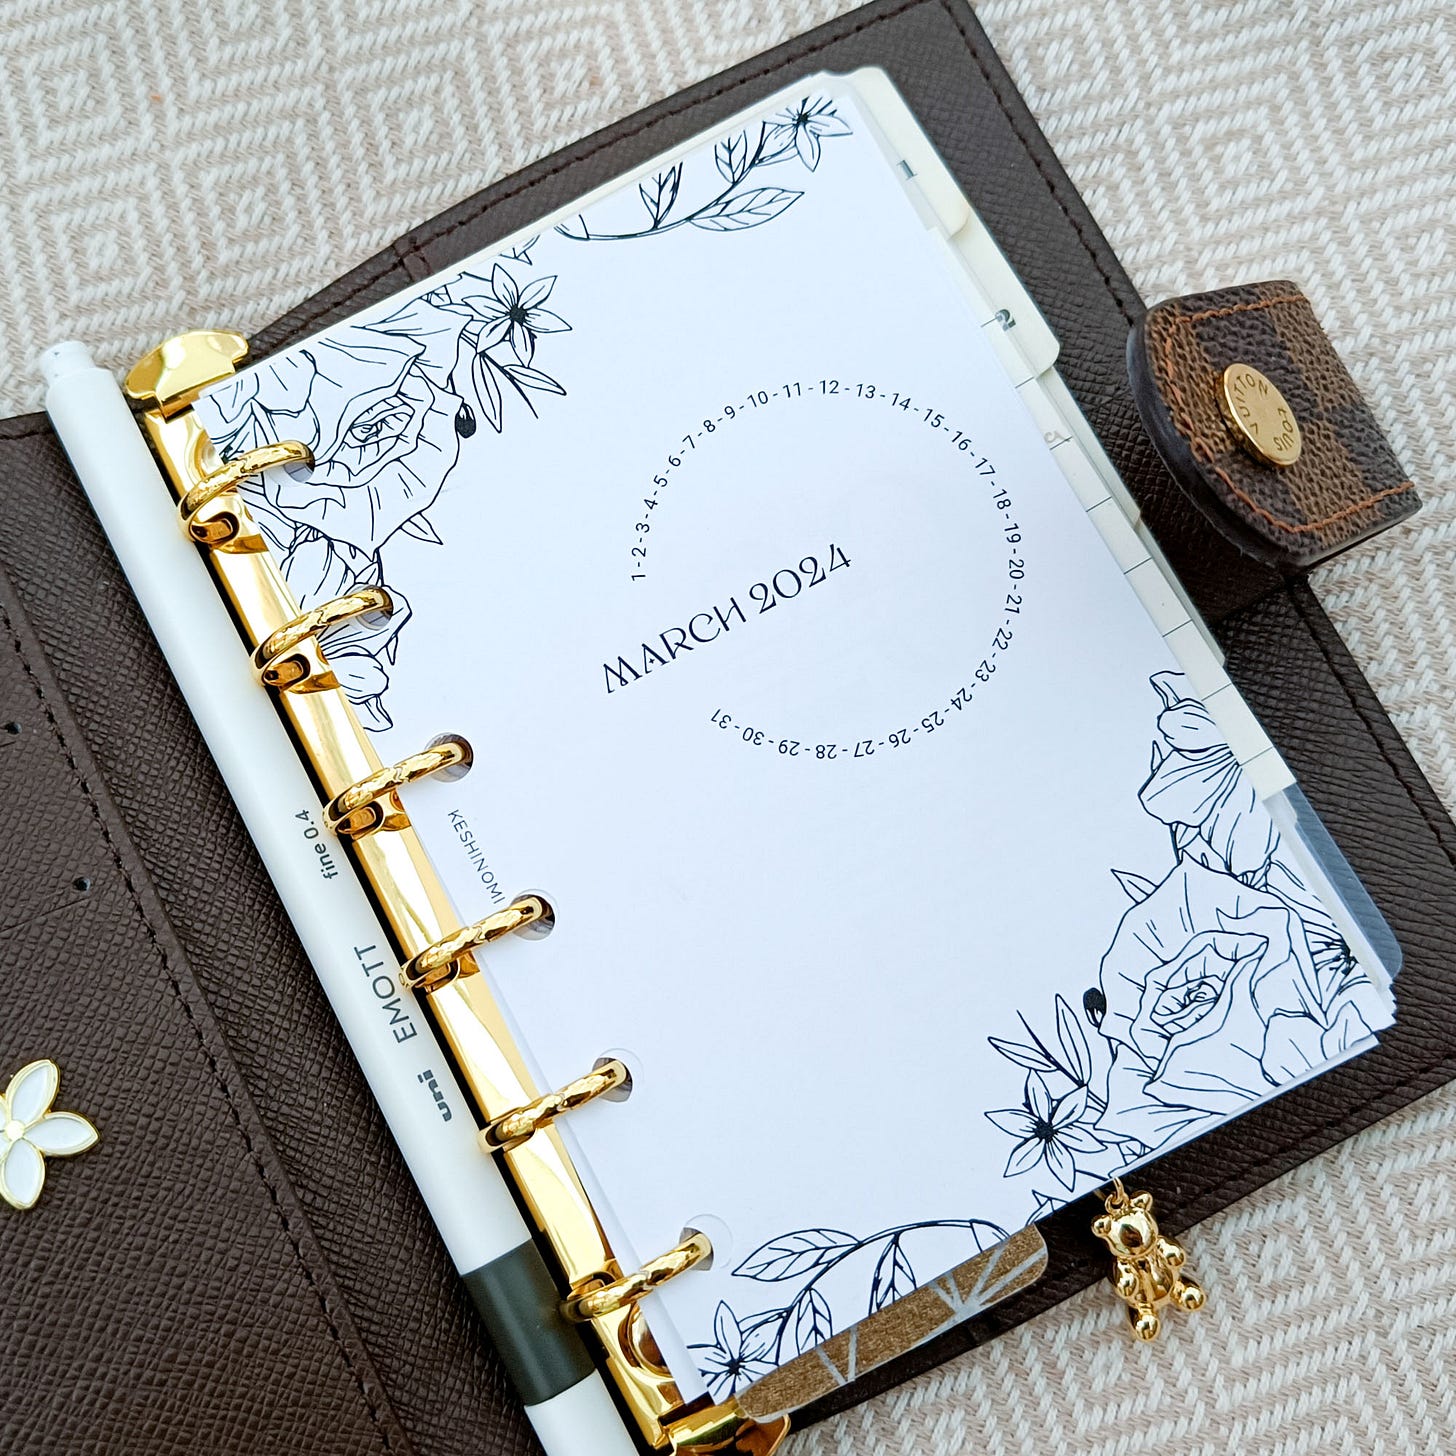
Things I’ve added from my own stash or bought specifically for this planner:
The cute little Daisy Magnetic Planner Charm from Kolour Cafe (my stash)
Some Plan Maker paper sticky notes by Paperian in style 10 (Round in the colour Oat) from The Journal Shop (just bought)
A decorative March dashboard (made by me, available here, or paid members can get it free here ;-)
A 2024 calendar dashboard (made by me, available soon ;-)
A pink tassel paper clip (also made by me)
A little gummy bear paper clip charm (again, made by me, available soon ;-)
A temporary page marker (handmade with acetate and gold foil washi tape)
Still to buy / Waiting on:
A page lifter (ordered from SortStuffOut)
A set of frosted dividers, I’ve opted for “4 top tabs” (also ordered from SortStuffOut)
A new magnetic planner charm (I have me eye on a couple from Kolour Cafe!)
A pen! (The pen I did buy was epically wrong :-(
A stick on elasticated pen loop (An Amazon search I have yet to do ;-)
A sexy page marker (I’ll search on Etsy for something pretty or make my own ;-)
I’ll share a full flip-thru once I have all the bits I want for this planner, until then…
I’m cheering you on Planner Friend!
Chloe x


